My approach with makeup is that "less is more" and I personally don't like to feel that I'm caked in heavy products. Flawless, healthy, glowing skin is always on the wish list and I think that anything else is just a bonus!
Working on my feet for long hours, I don't often get time to check in the mirror which means I pick products that I know will genuinely last all day. Whilst my everyday makeup products might not all be suitable for my professional kit due to ingredients and hygienic application, they're the best that I've found. You wear your hair and your face everyday and they should be your most expensive item's of clothing!

With professional application there are certainly a few more steps, techniques and products used but for every day, I use the following in this order too:
Primer: I always wear a primer, every day without fail otherwise I know what little makeup that I have put on, has disappeared by midday. Benefit's Porefessional is an oil free cream that can be used on it's own or as a primer and it helps minimise the look of pores (and fine lines!) and helps foundation glide on super smooth. If my skin is particular dry I'll swap it for MAC's Prep and Prime Skin which is a good all rounder.
Concealer: I don't always use a concealer (it depends on how whether my skin is behaving!) but if I do it's MAC's Pro Longwear Concealer. It lasts really well and isn't too thick and stodgy like other concealers.
Foundation: I choose to use Bare Minerals powder for everyday wear as it gives good coverage and because it's a powder it's really light weight. My backup foundation is Illamasqua's Skin Base; it's so flawless I used this on my wedding day and always reach for it if my skin is misbehaving and needs better coverage. Skin Base is really lightweight and doesn't contain SPF which I think makes it feel less oily and greasy....I love it, love love love it.
Eyebrows: I use Illamasqua's Eye Brow cake in Thunder as it's a great powder that has a nice natural colour. I just use eyeshdow in my kit as honestly I don't think there's any difference in the products; perhaps Illamasqua's is a little more waxy.
Liquid Liner: Liquid Liner is my makeup trademark, I always wear it and if I don't everyone assumes that I'm ill! I've tried so so so many and my absolute favourite is Collection 2000 Fast Stroke Liner about £2.99 from Boots. I don't think I'm the only one who know about this little gem either as it's always sold out so I buy multiple when I get the chance! With a foam tip applicator, it goes on smoothly and softly and gives a nice black pigment...and it stays on! Unfortunately I can't use it in my kit as the applicator isn't hygienic and using disposables just isn't the same. I therefore use Illamasqua's Eyeliner Cake alongside their Sealing Gel. One drop of this product turns any powder into a colour-intense, water-resistant paste that dries quickly and lasts for hours. Perfect as a set gel or sealant, blend with Powder Eye Shadow, Pure Pigment, Eye Brow Cake or Eye Liner Cake.
Mascara: Benefit's They're Real Mascara is AMAZING. The silicone comb inside does a lot of the hard work admittedly as you can comb through multiple times without it getting clumpy and depositing too much product. It's not technically waterproof but it really doesn't come off and makes your lashes look awesome. I use this in my kit too.
Bronzer: I tend to blush and bronze after I've done the rest of my makeup so I can see how much I actually need. Once your eye makeup is done it can look a little more dramatic and you may find you need less blush and bronze. I use Benefit's Hoola for bronzing and contour. It's shimmer free, comes with a perfect contour brush and the packaging is cute. I tend to use a contour pallet in my kit as I need a variety of shades but for easy every day "chuck on" application, this is a winner!
Blush: Whilst this depends on your skin tone of course, for English-Rose type skin, a pretty pink normally works a treat and I love MAC's Springsheen Powder Blush I used to use Pink Swoo but they discontinued it :(
Like everyone else, I don't have an hour to put on my makeup everyday and actually when I'm up at 5am for a wedding, the last thing I want to be doing is my own hair and makeup so quick and reliable products are a must! Xx
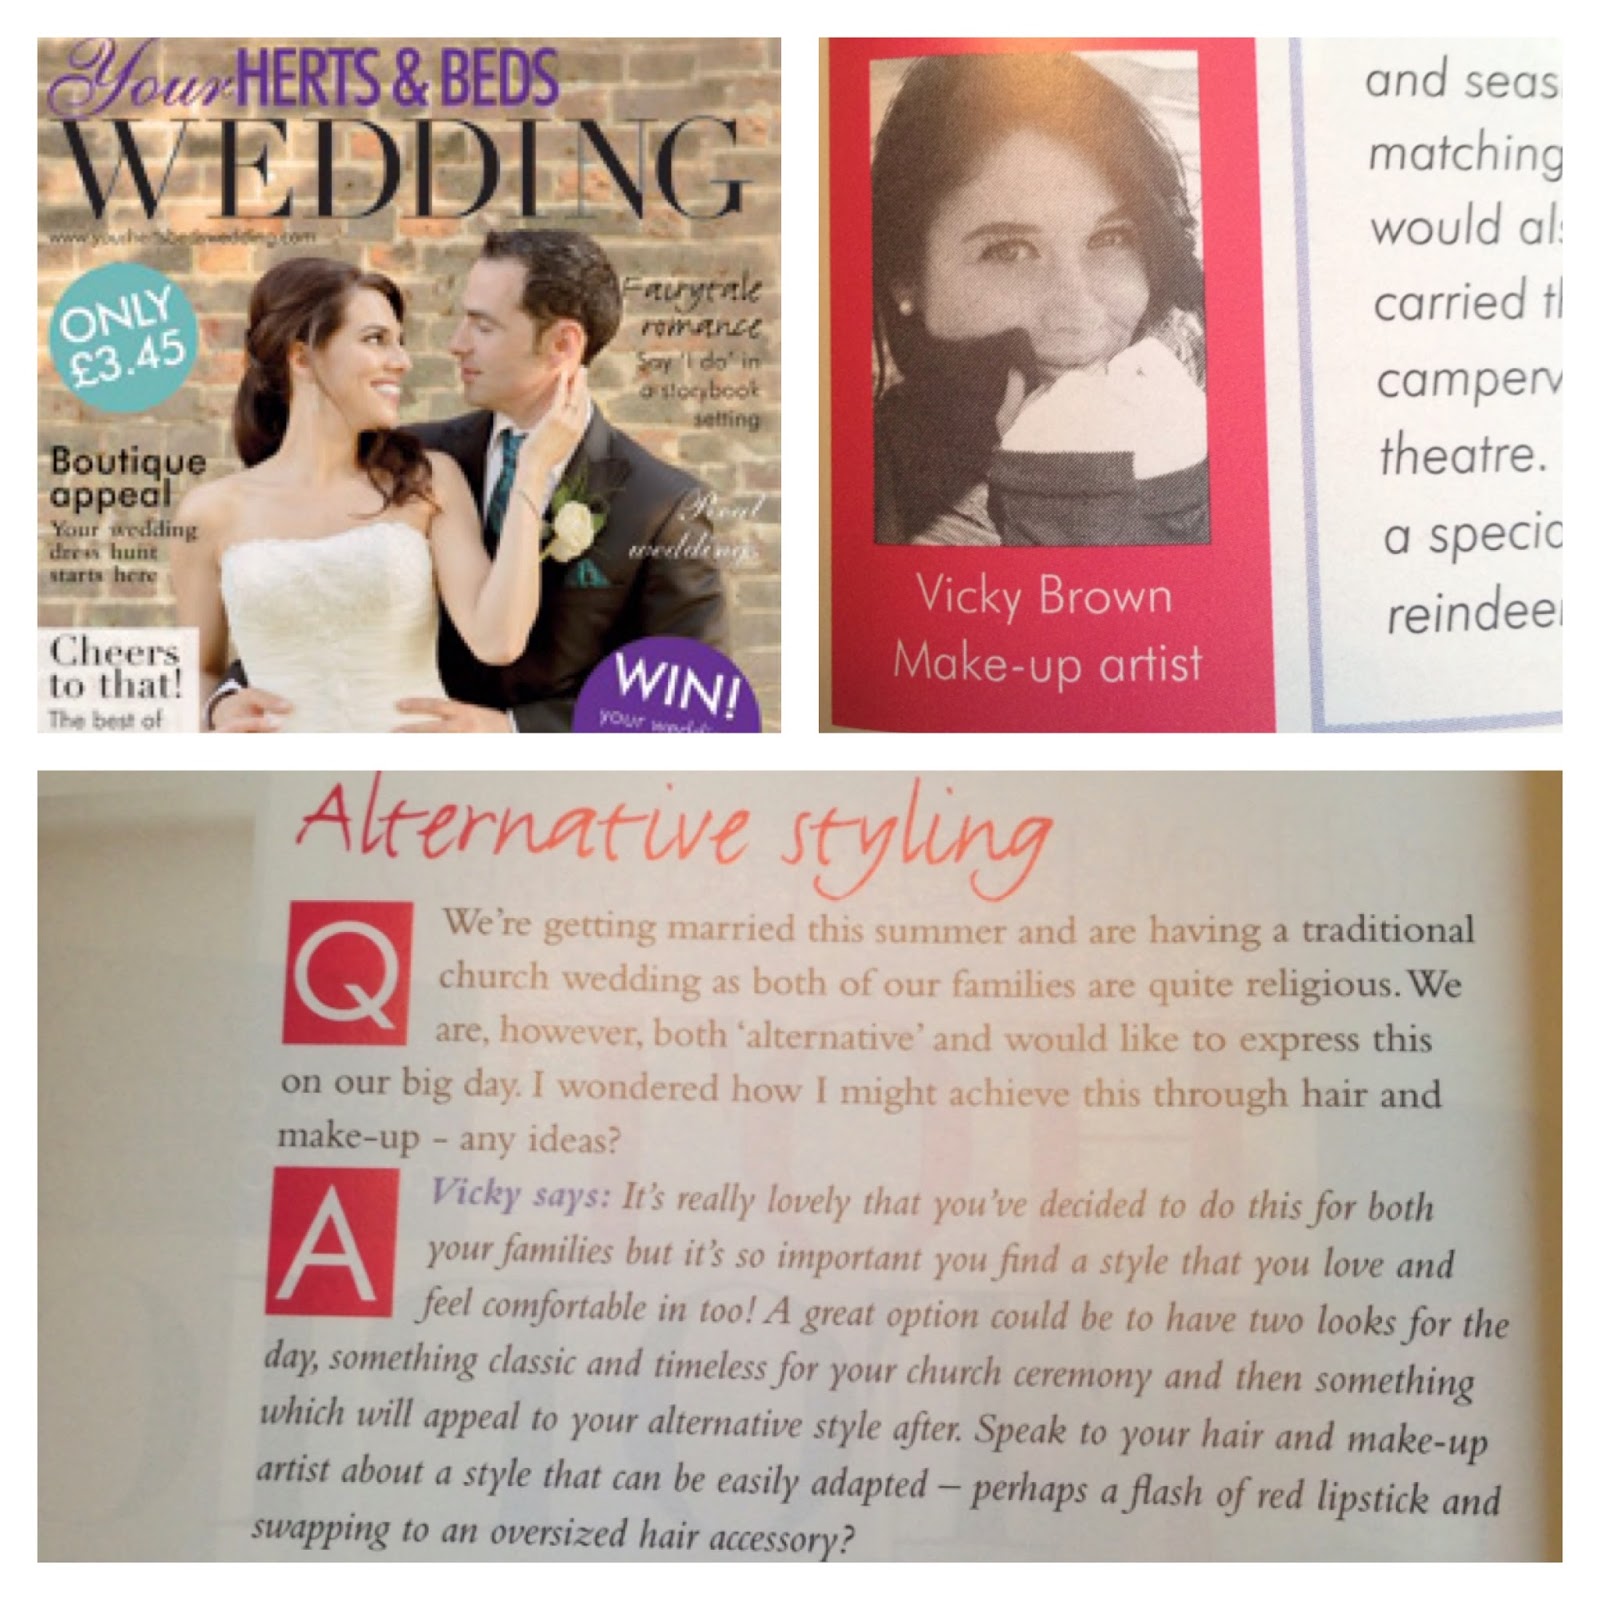
Vicky Brown Hair and Makeup
www.vicky-brown.co.uk